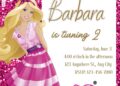
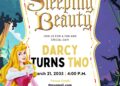
Sleeping Beauty Birthday Bash
“Once Upon a Birthday Without a Royal Budget”
It all started with a bedtime story and a not-so-subtle hint from my daughter. You know how kids say the most random things when they’re stalling for bedtime? Well, mine looked up from her tangle of blankets, clutched her plush owl (who she insists is Prince Phillip in disguise), and whispered, “Mommy, I want to be like Aurora for my birthday.” And just like that, this mom went from “maybe just cupcakes and a balloon arch” to full-on fairy tale party planning mode.
Now, I don’t live in a castle. I don’t have birds that help me clean (though if you find those, send them my way), and my bank account definitely doesn’t have royal status. But I am a freelance writer and template designer, and I’ve planned enough parties to know that magic can be made with glitter, love, and the power of Canva.
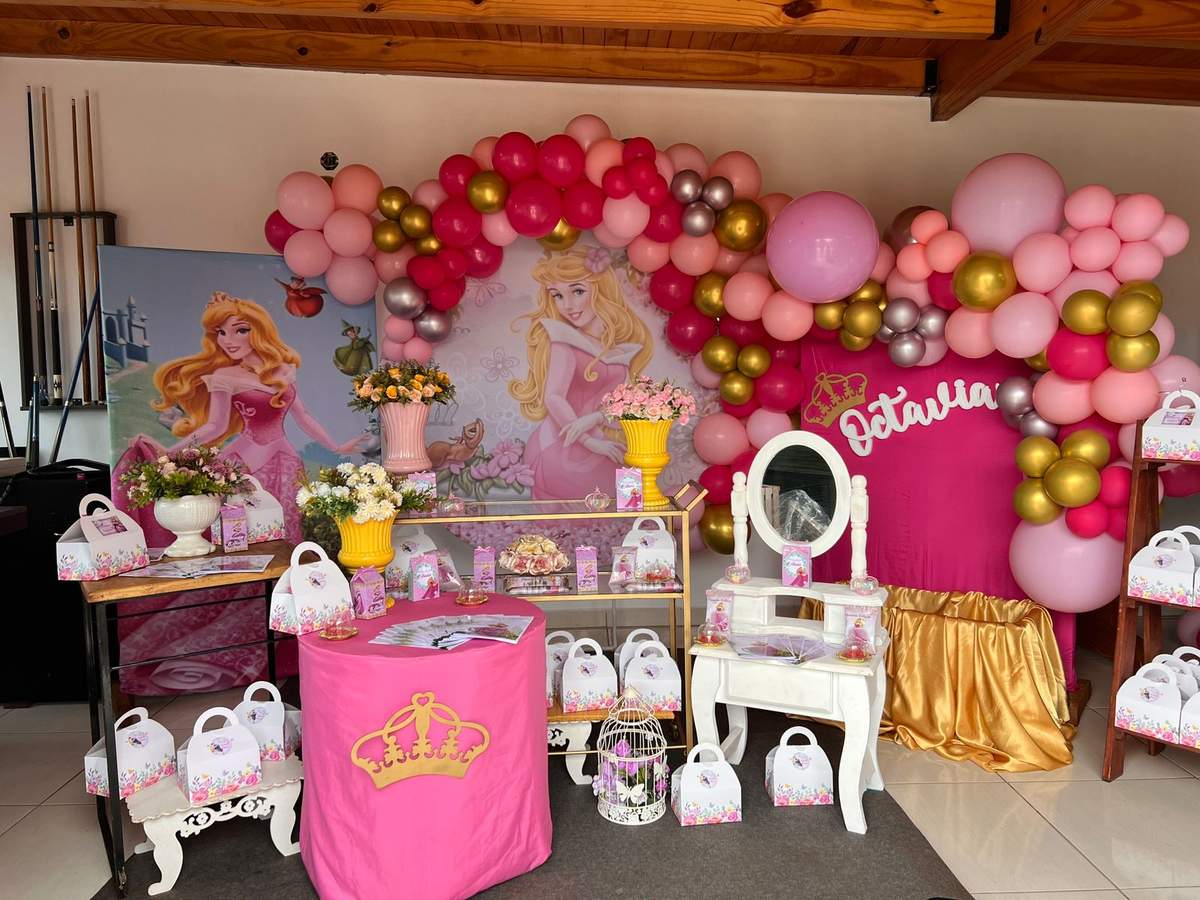
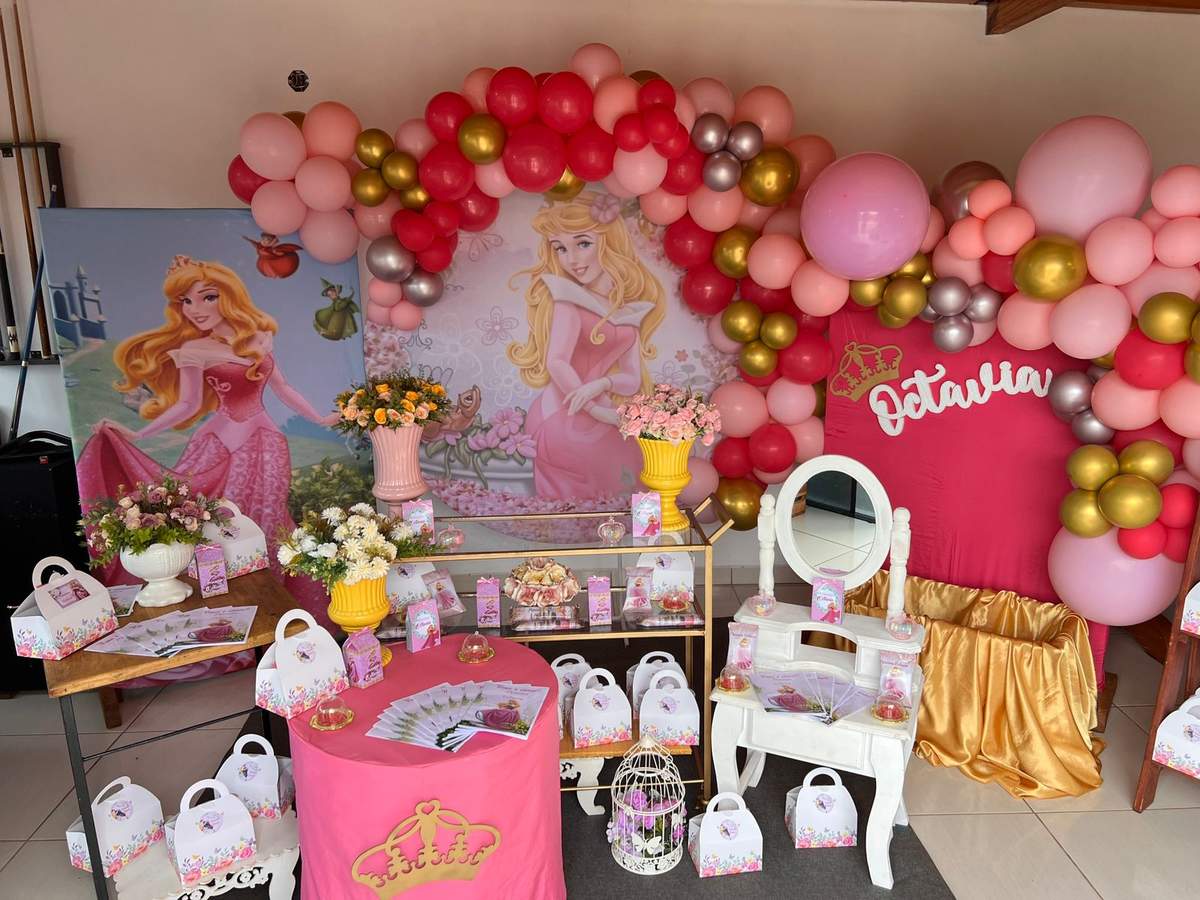
Credit: Princess Octavia’s Sleeping Beauty Birthday Party by SANDRA S via Catch My Party
So I rolled up my pajama sleeves, opened Pinterest, poured some coffee (okay, wine), and started building the most beautiful, budget-friendly Sleeping Beauty birthday bash I could imagine—one that I could share with you, my fellow party-planning moms. Because if I can do it, I know you can too.
Our DIY Castle Makeover
Okay, let’s talk about the venue. I would’ve loved to rent out a ballroom with gliding staircases and chandeliers, but instead, I had… our living room. Which, let’s be honest, usually looks more like a laundry battlefield than a royal court. But I wasn’t going to let that stop me. I pulled out every light string, sparkly fabric, and roll of pink tulle I owned. I transformed our curtains with golden ribbon, stuck foam stars to the ceiling, and used soft pink paper fans for that sweet, enchanted forest vibe. A broken floor lamp? Covered in glitter and repurposed as “Flora’s Magic Staff.” Don’t ask how I got the glitter out of the rug.
Credit: Princess Octavia’s Sleeping Beauty Birthday Party by SANDRA S via Catch My Party
And the best part? My daughter walked in, gasped like she’d stepped into Disneyland, and said, “Mom, it’s my castle!” And that moment made every burnt glue gun finger 100% worth it. For you backyard moms—this theme works beautifully outside too. Drape sheer curtains over a gazebo or tent, hang floating pink and silver balloons, and add some paper butterflies.
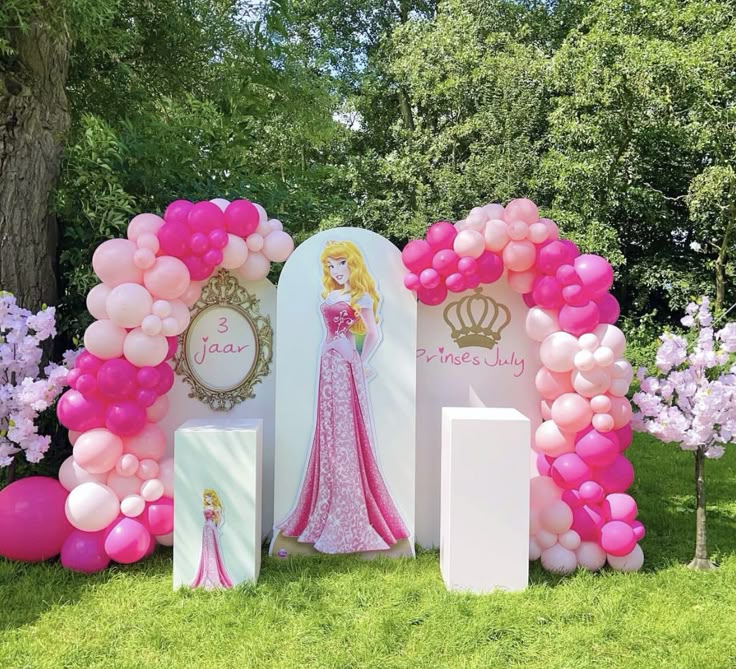
Credit: Angelaxenaa on Pinterest
Boom, you’ve got Briar Rose’s enchanted hideaway. If you’re lucky enough to have trees, fairy lights are your best friend. If not, dollar-store string lights will do just fine. Trust me, your kid won’t care if the roses are real—they’ll just remember how magical it felt.
Let’s Crafting Invitations with a Touch of Magic
“Scrolls of Elegance for FREE”
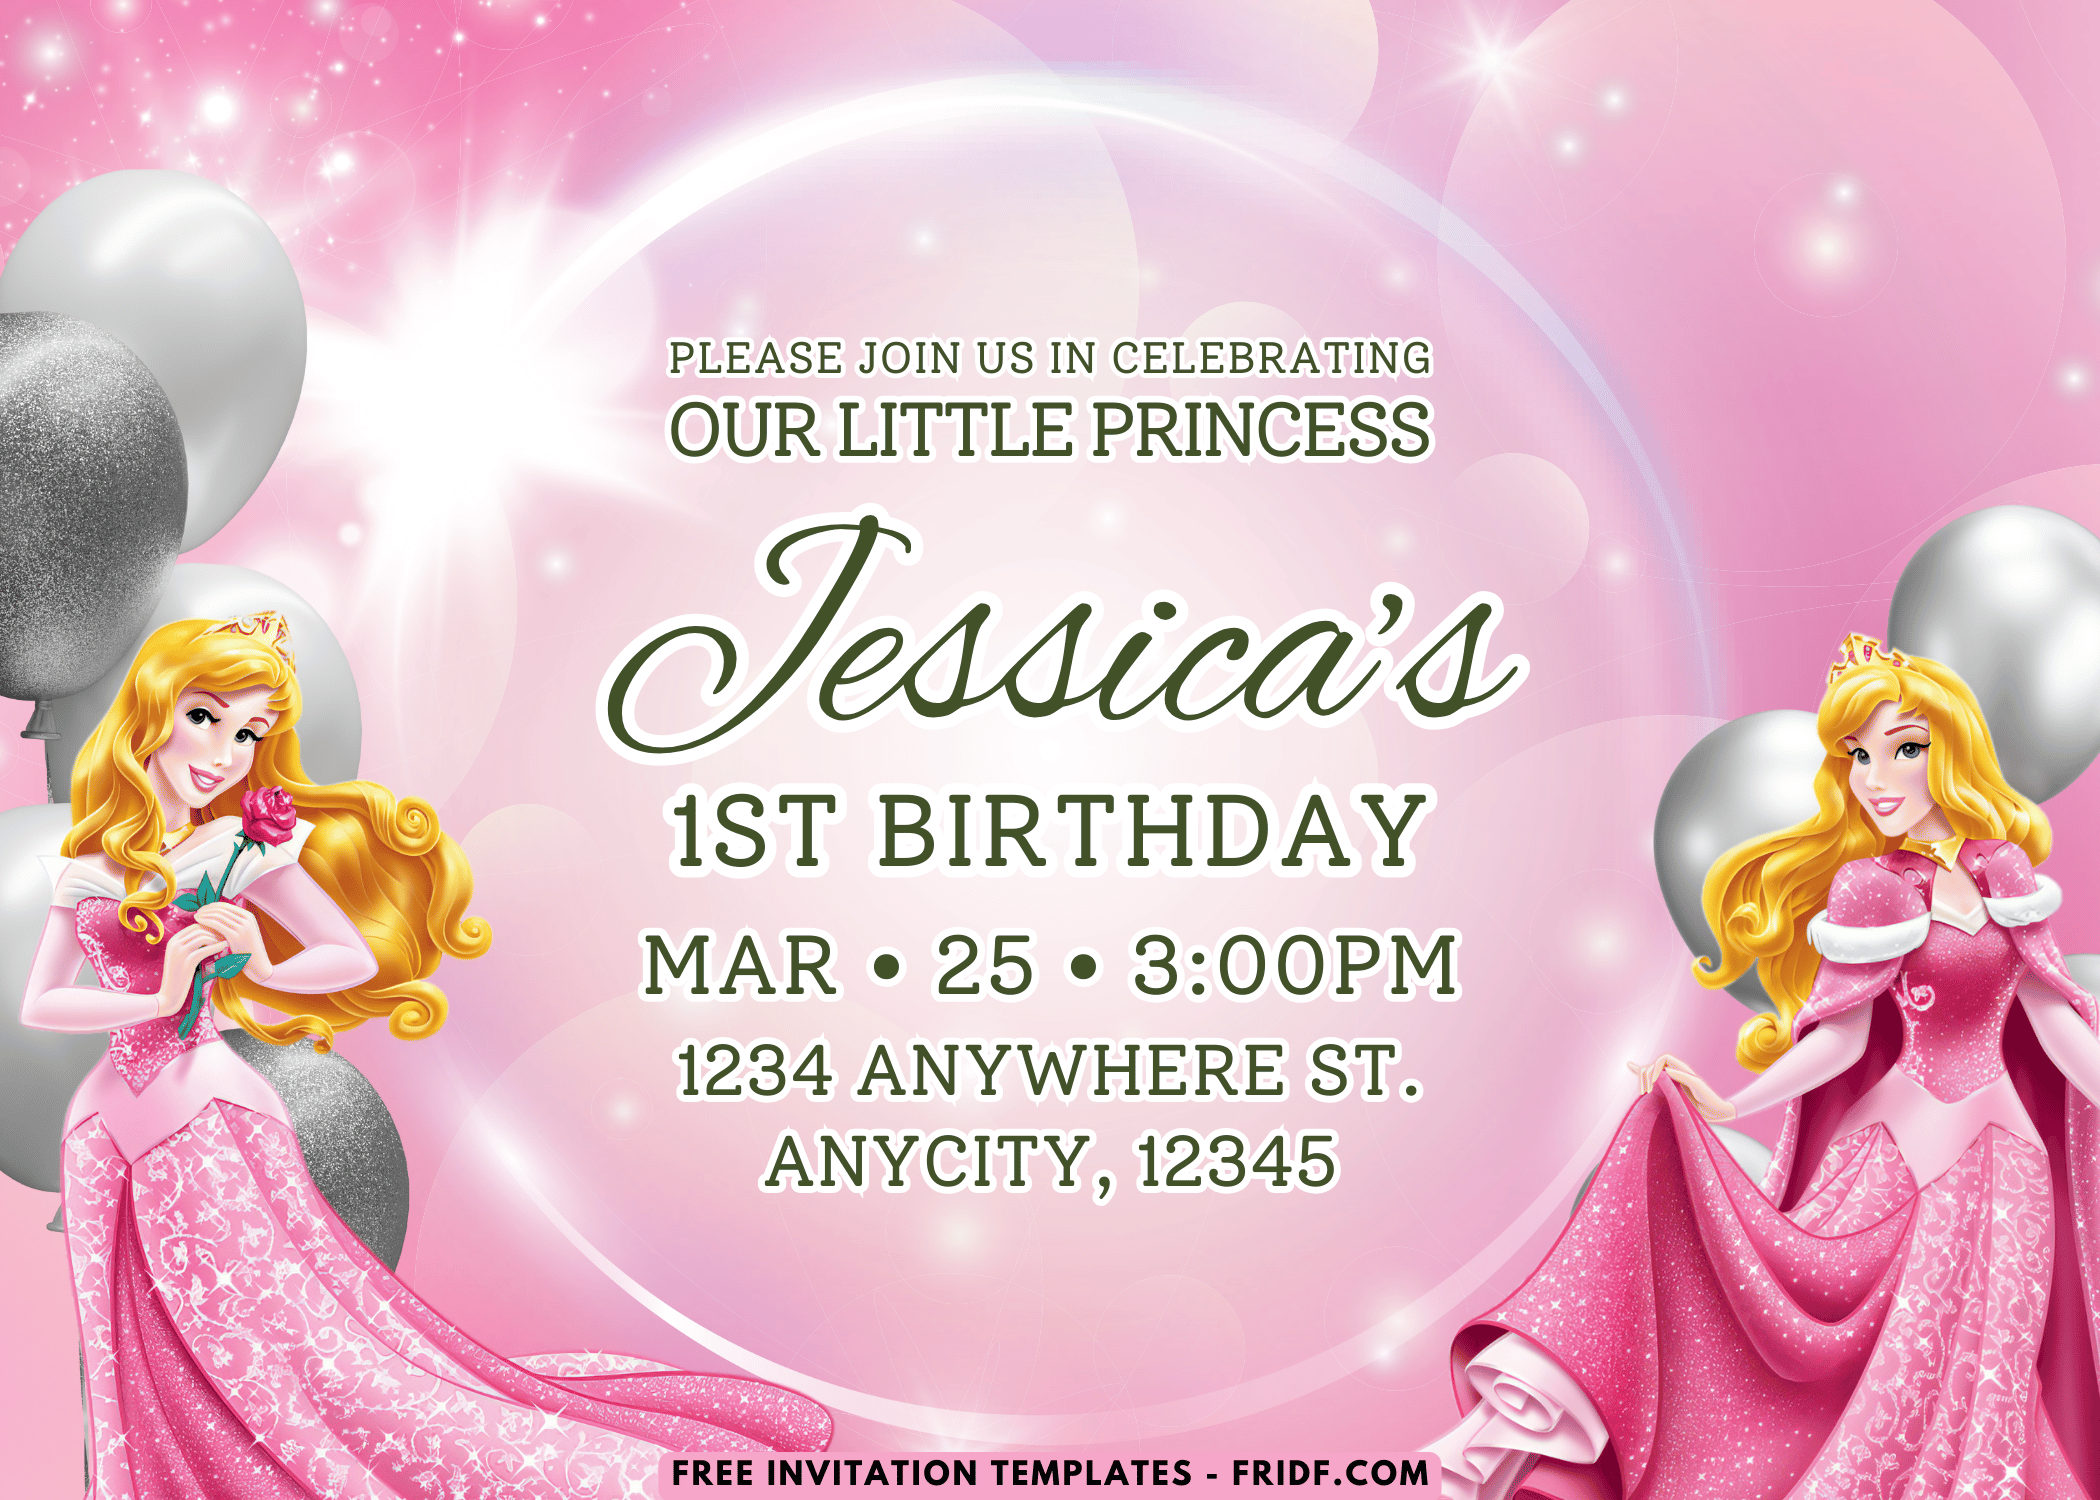
As a freelance designer, party invitations are where I truly get to shine—and cry a little when I see people charge $20-$60 for one editable file. Let’s be real. Invitations shouldn’t cost more than the cake. That’s why I designed a set of free editable Sleeping Beauty Canva templates, and let me tell you—they are chef’s kiss magical.
The first design features Princess Aurora in her signature pink gown, surrounded by dreamy sparkles and silver balloons, just like the image I shared. There’s a soft pink glow that feels like a sunrise in a fairytale. The script is elegant but playful—because let’s be honest, the party may be royal, but it’s still gonna have sticky fingers and cupcake smears.

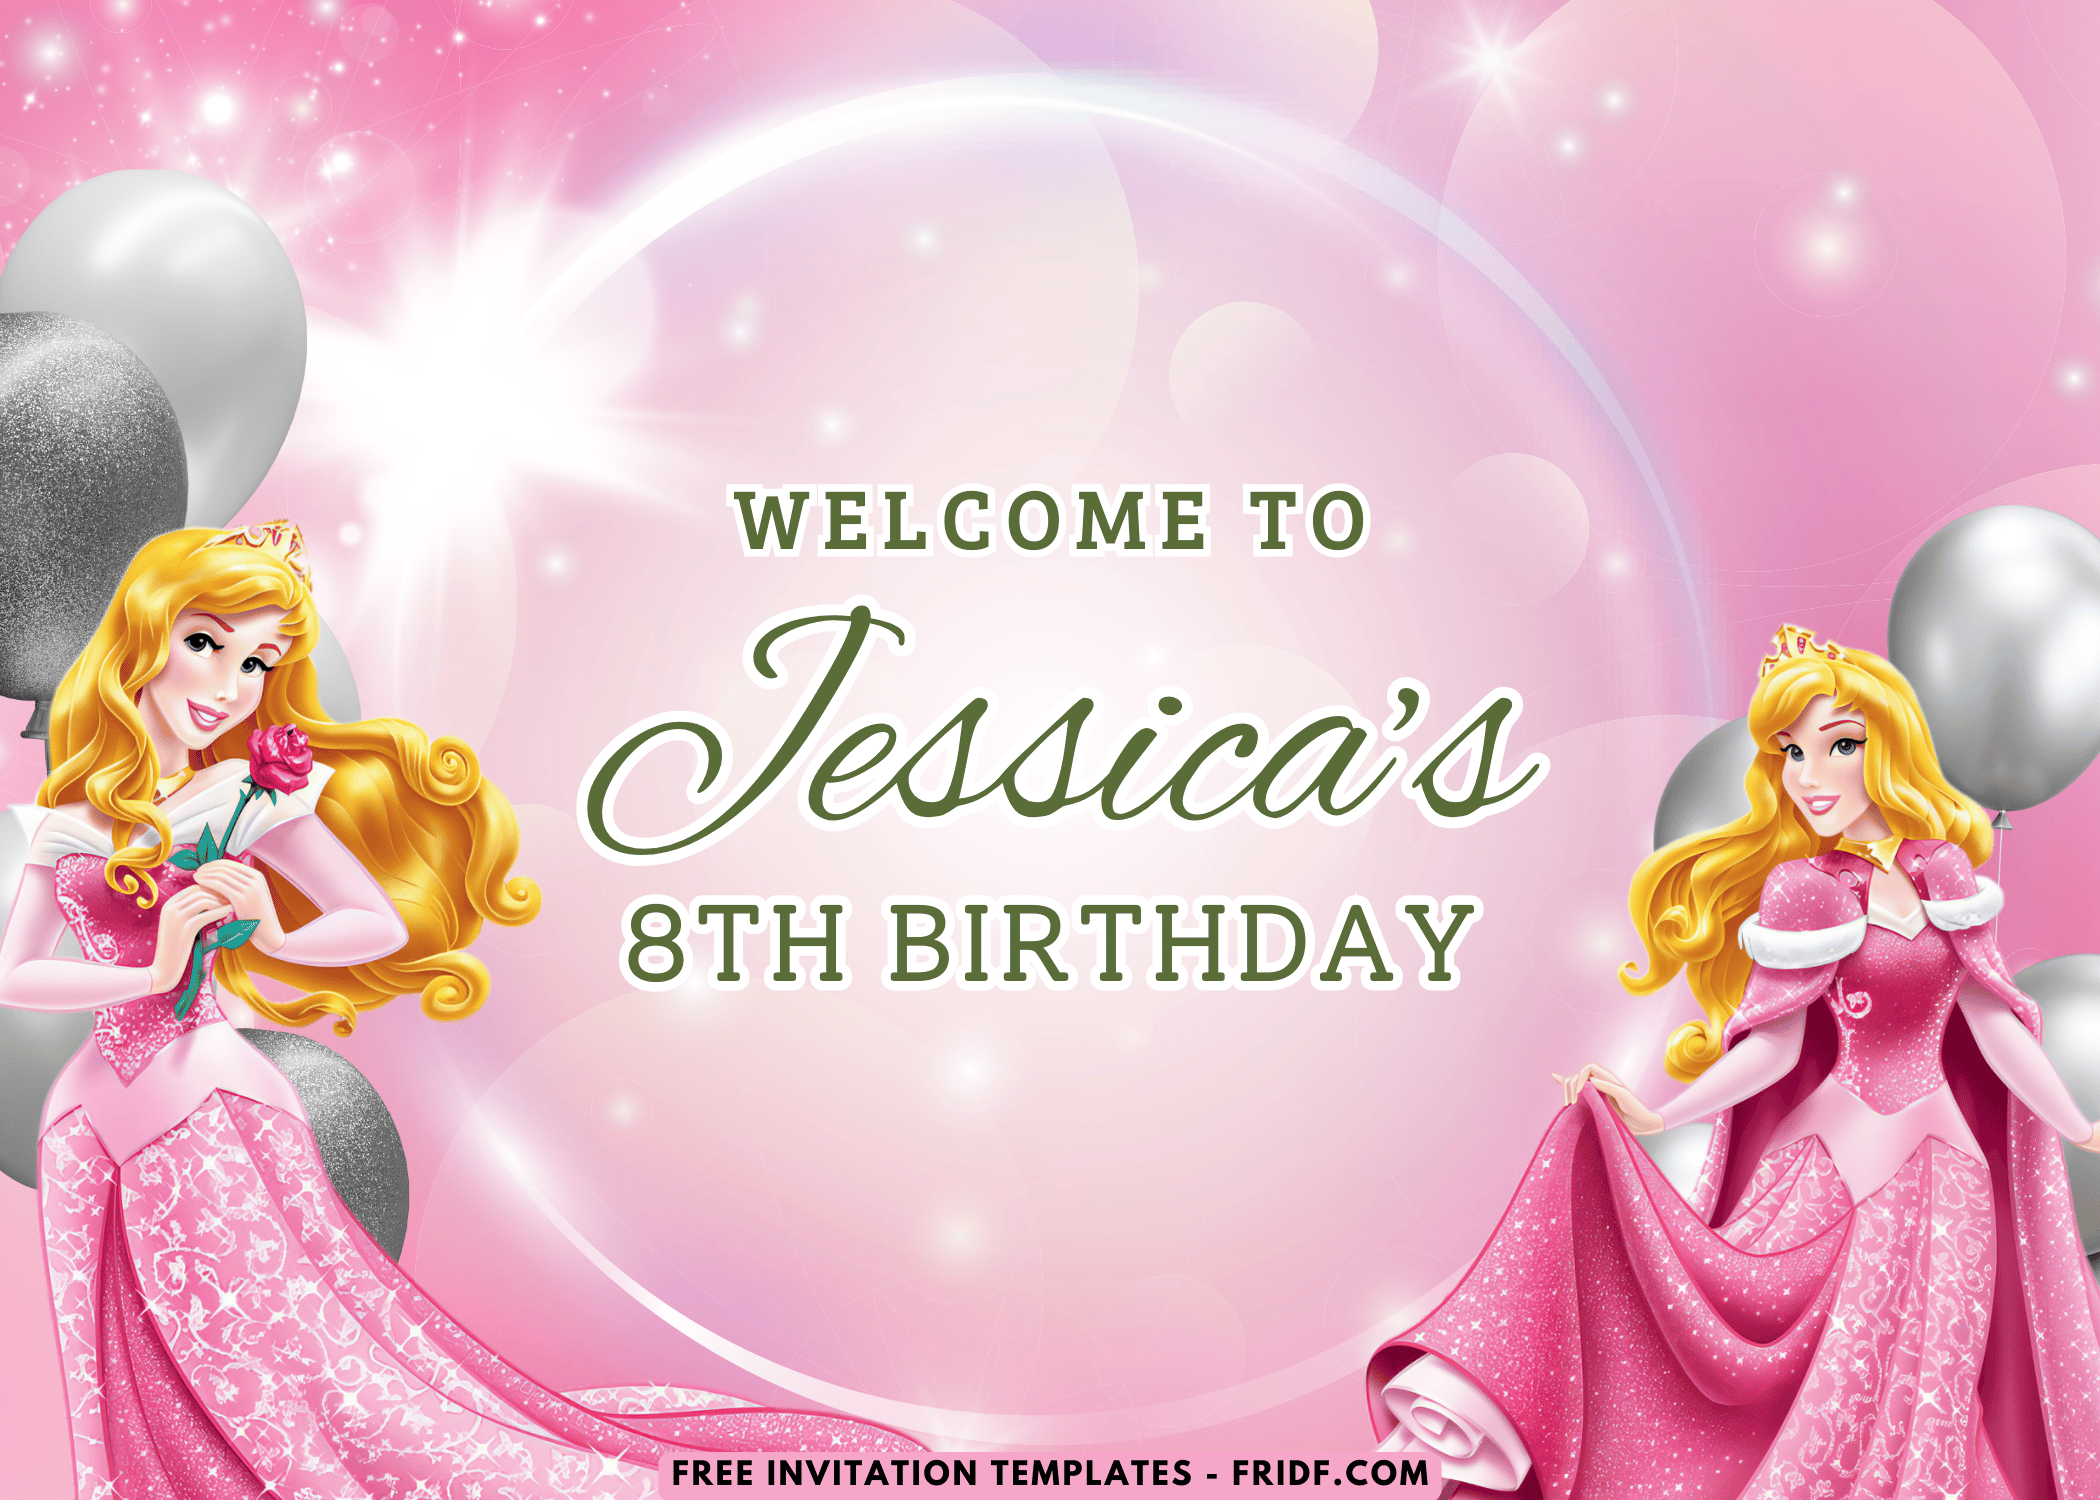
The second version leans more into the forest fairy tale vibe, with floral borders, magical woodland motifs, and a slightly vintage aesthetic (think cottagecore meets Disney magic). This one’s perfect if you’re channeling more of the Briar Rose aesthetic—before she found out she was royal. And the third? It’s full-glam princess. Pink glitter, floating gold crowns, silver starbursts, and Aurora giving that classic Disney princess smile that says, “Yes, I woke up looking like this.”
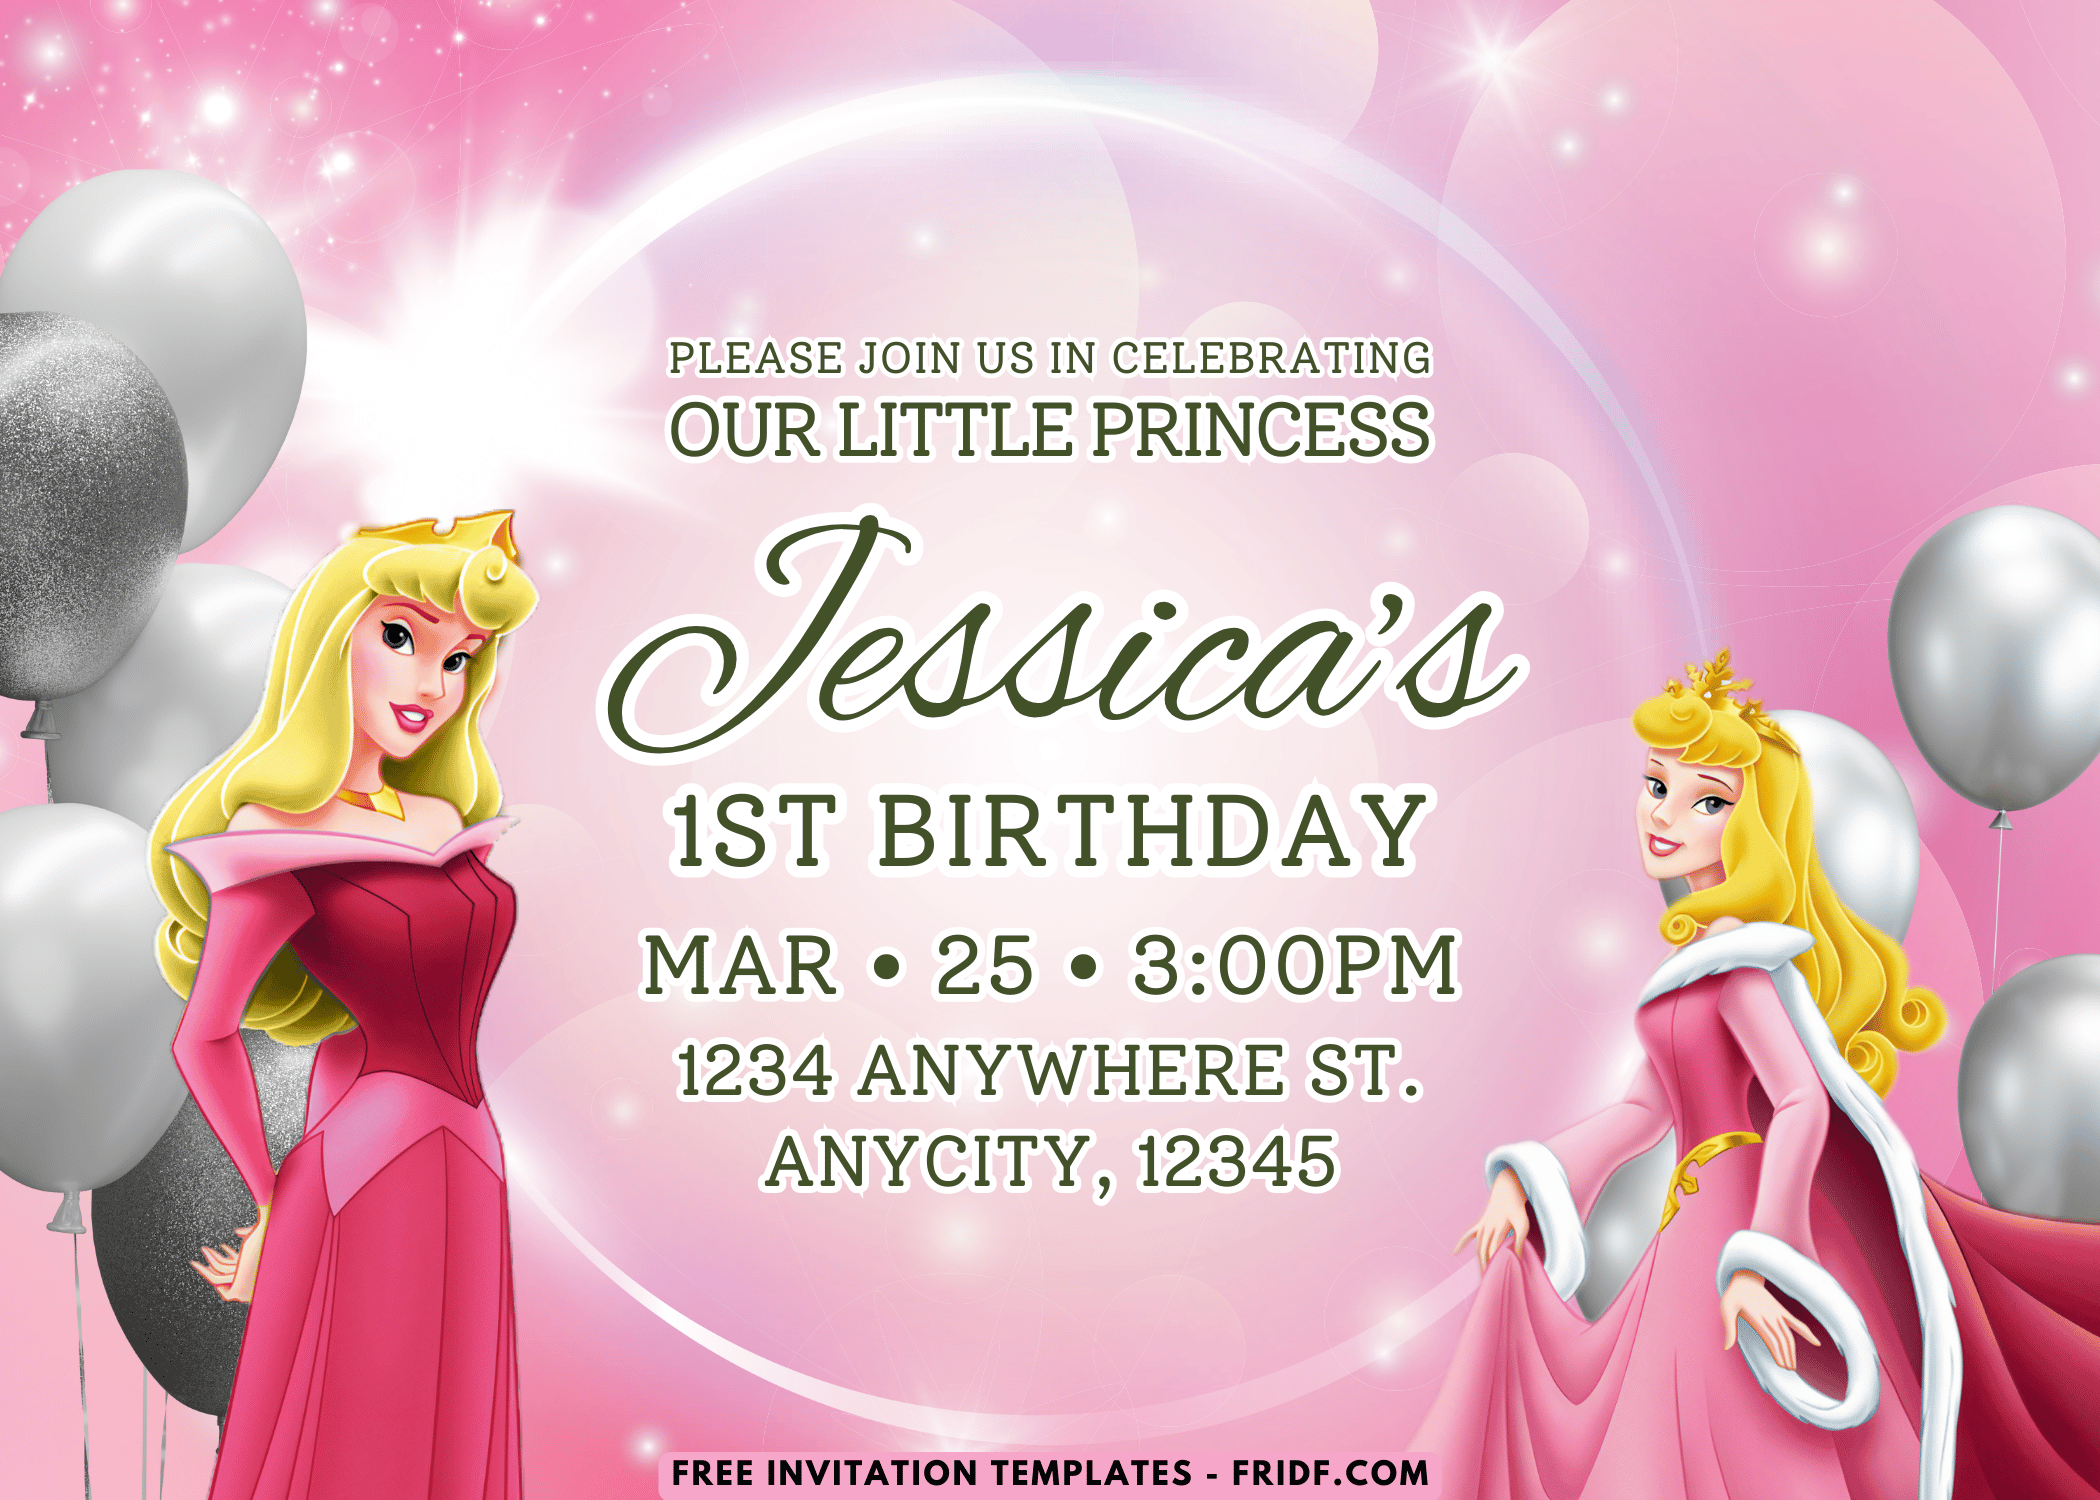
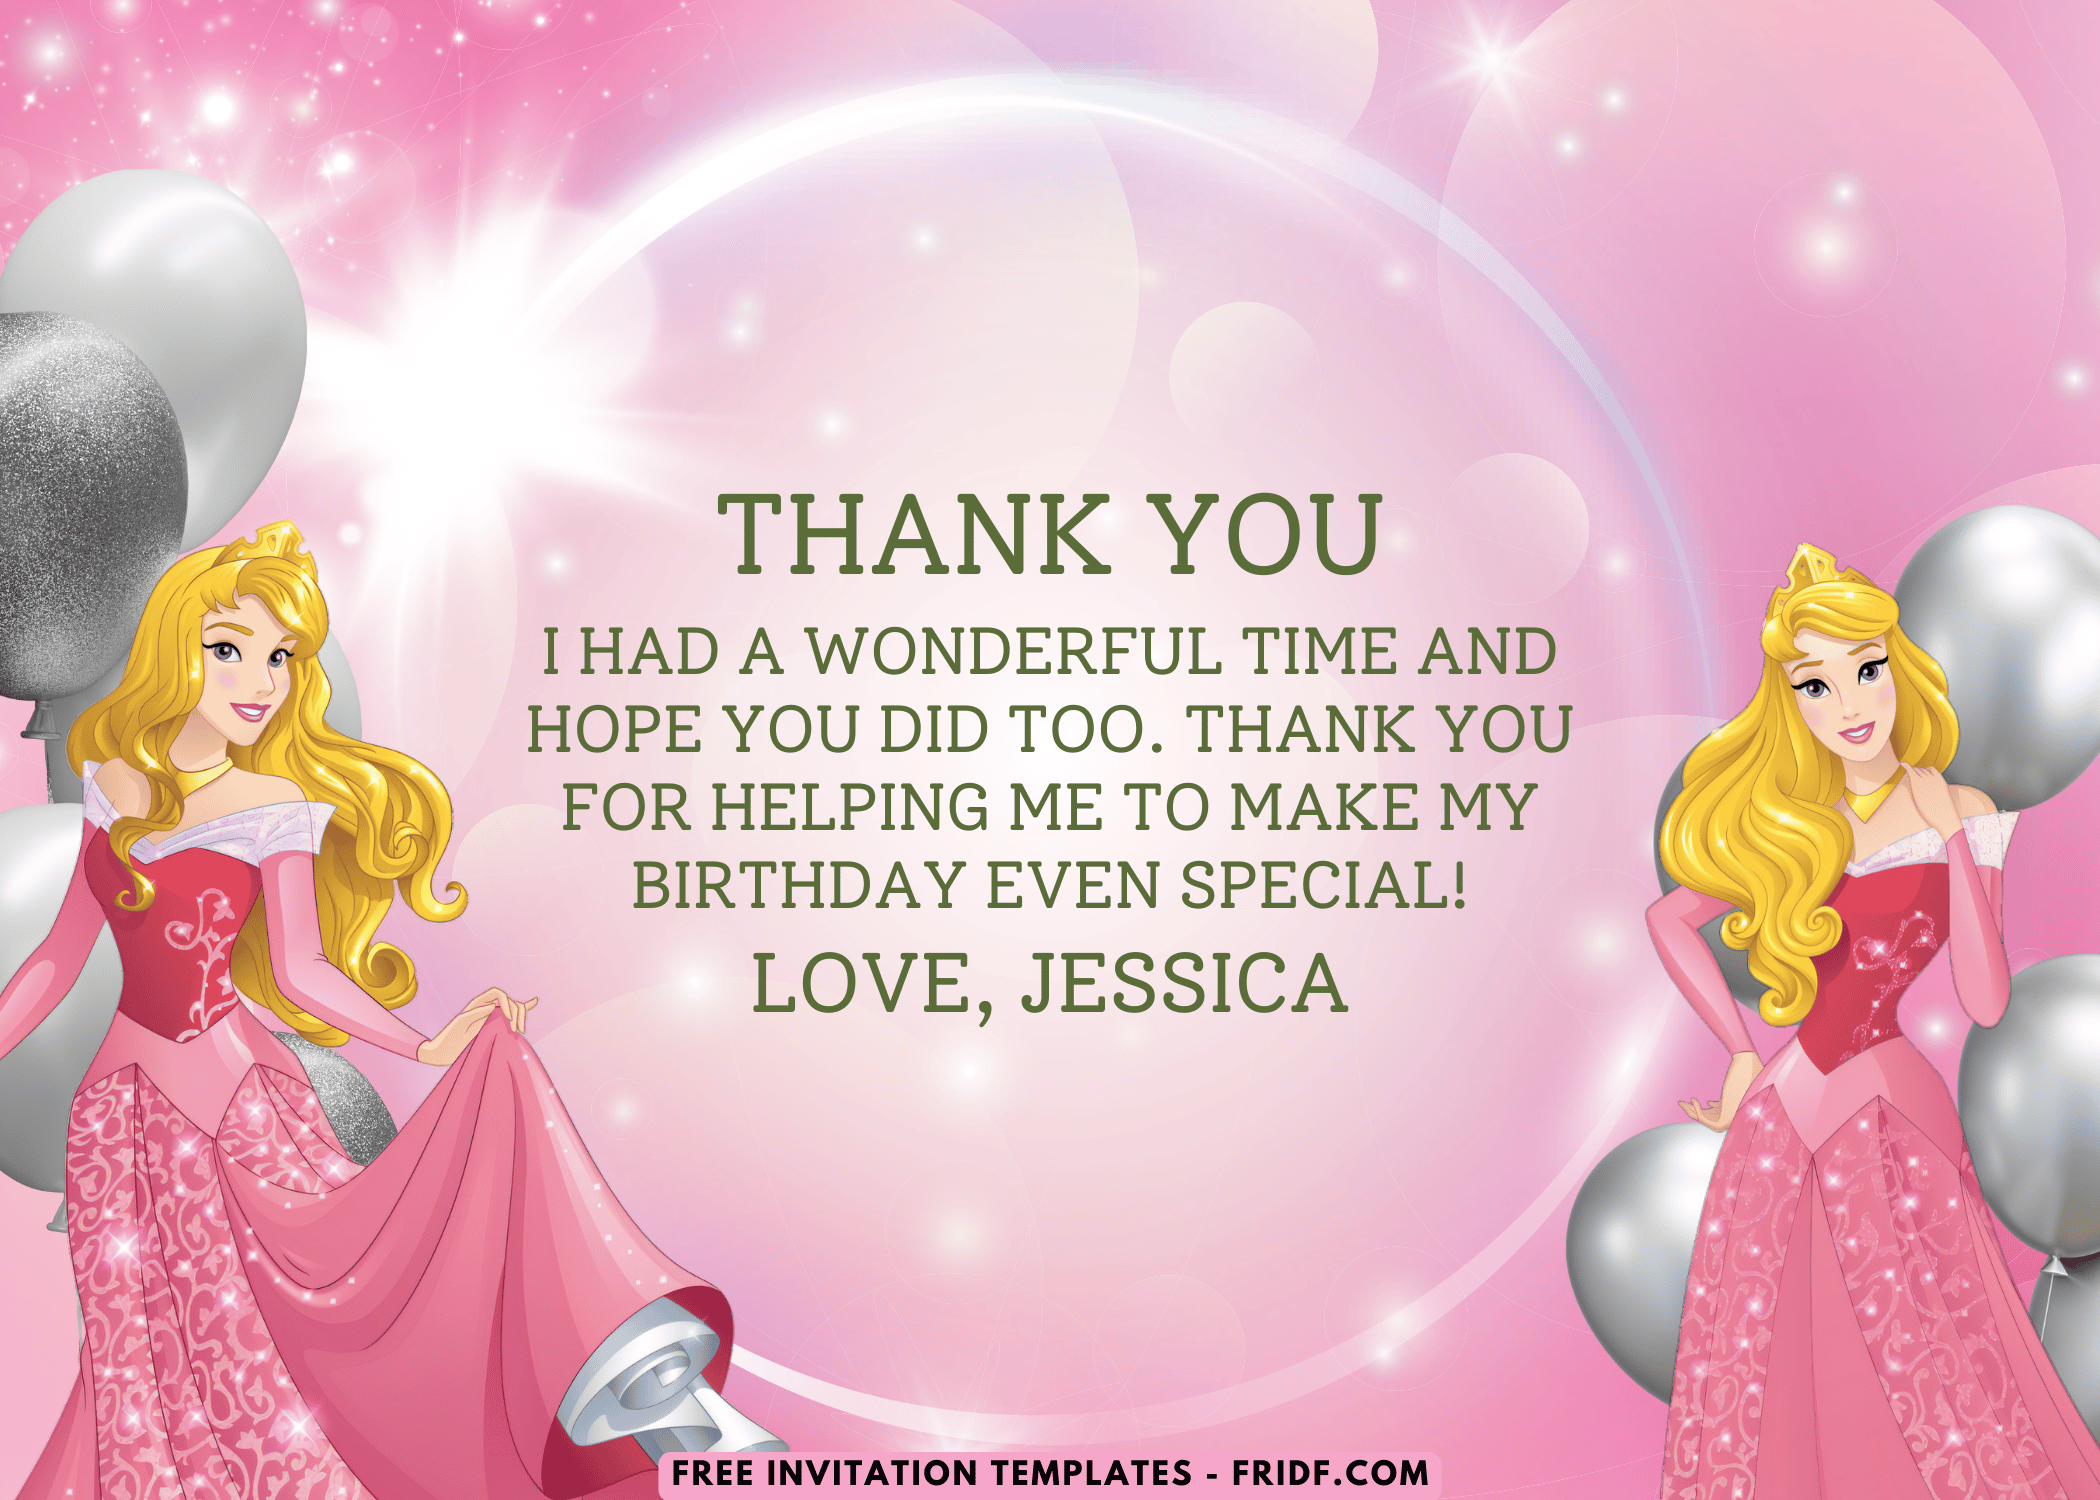
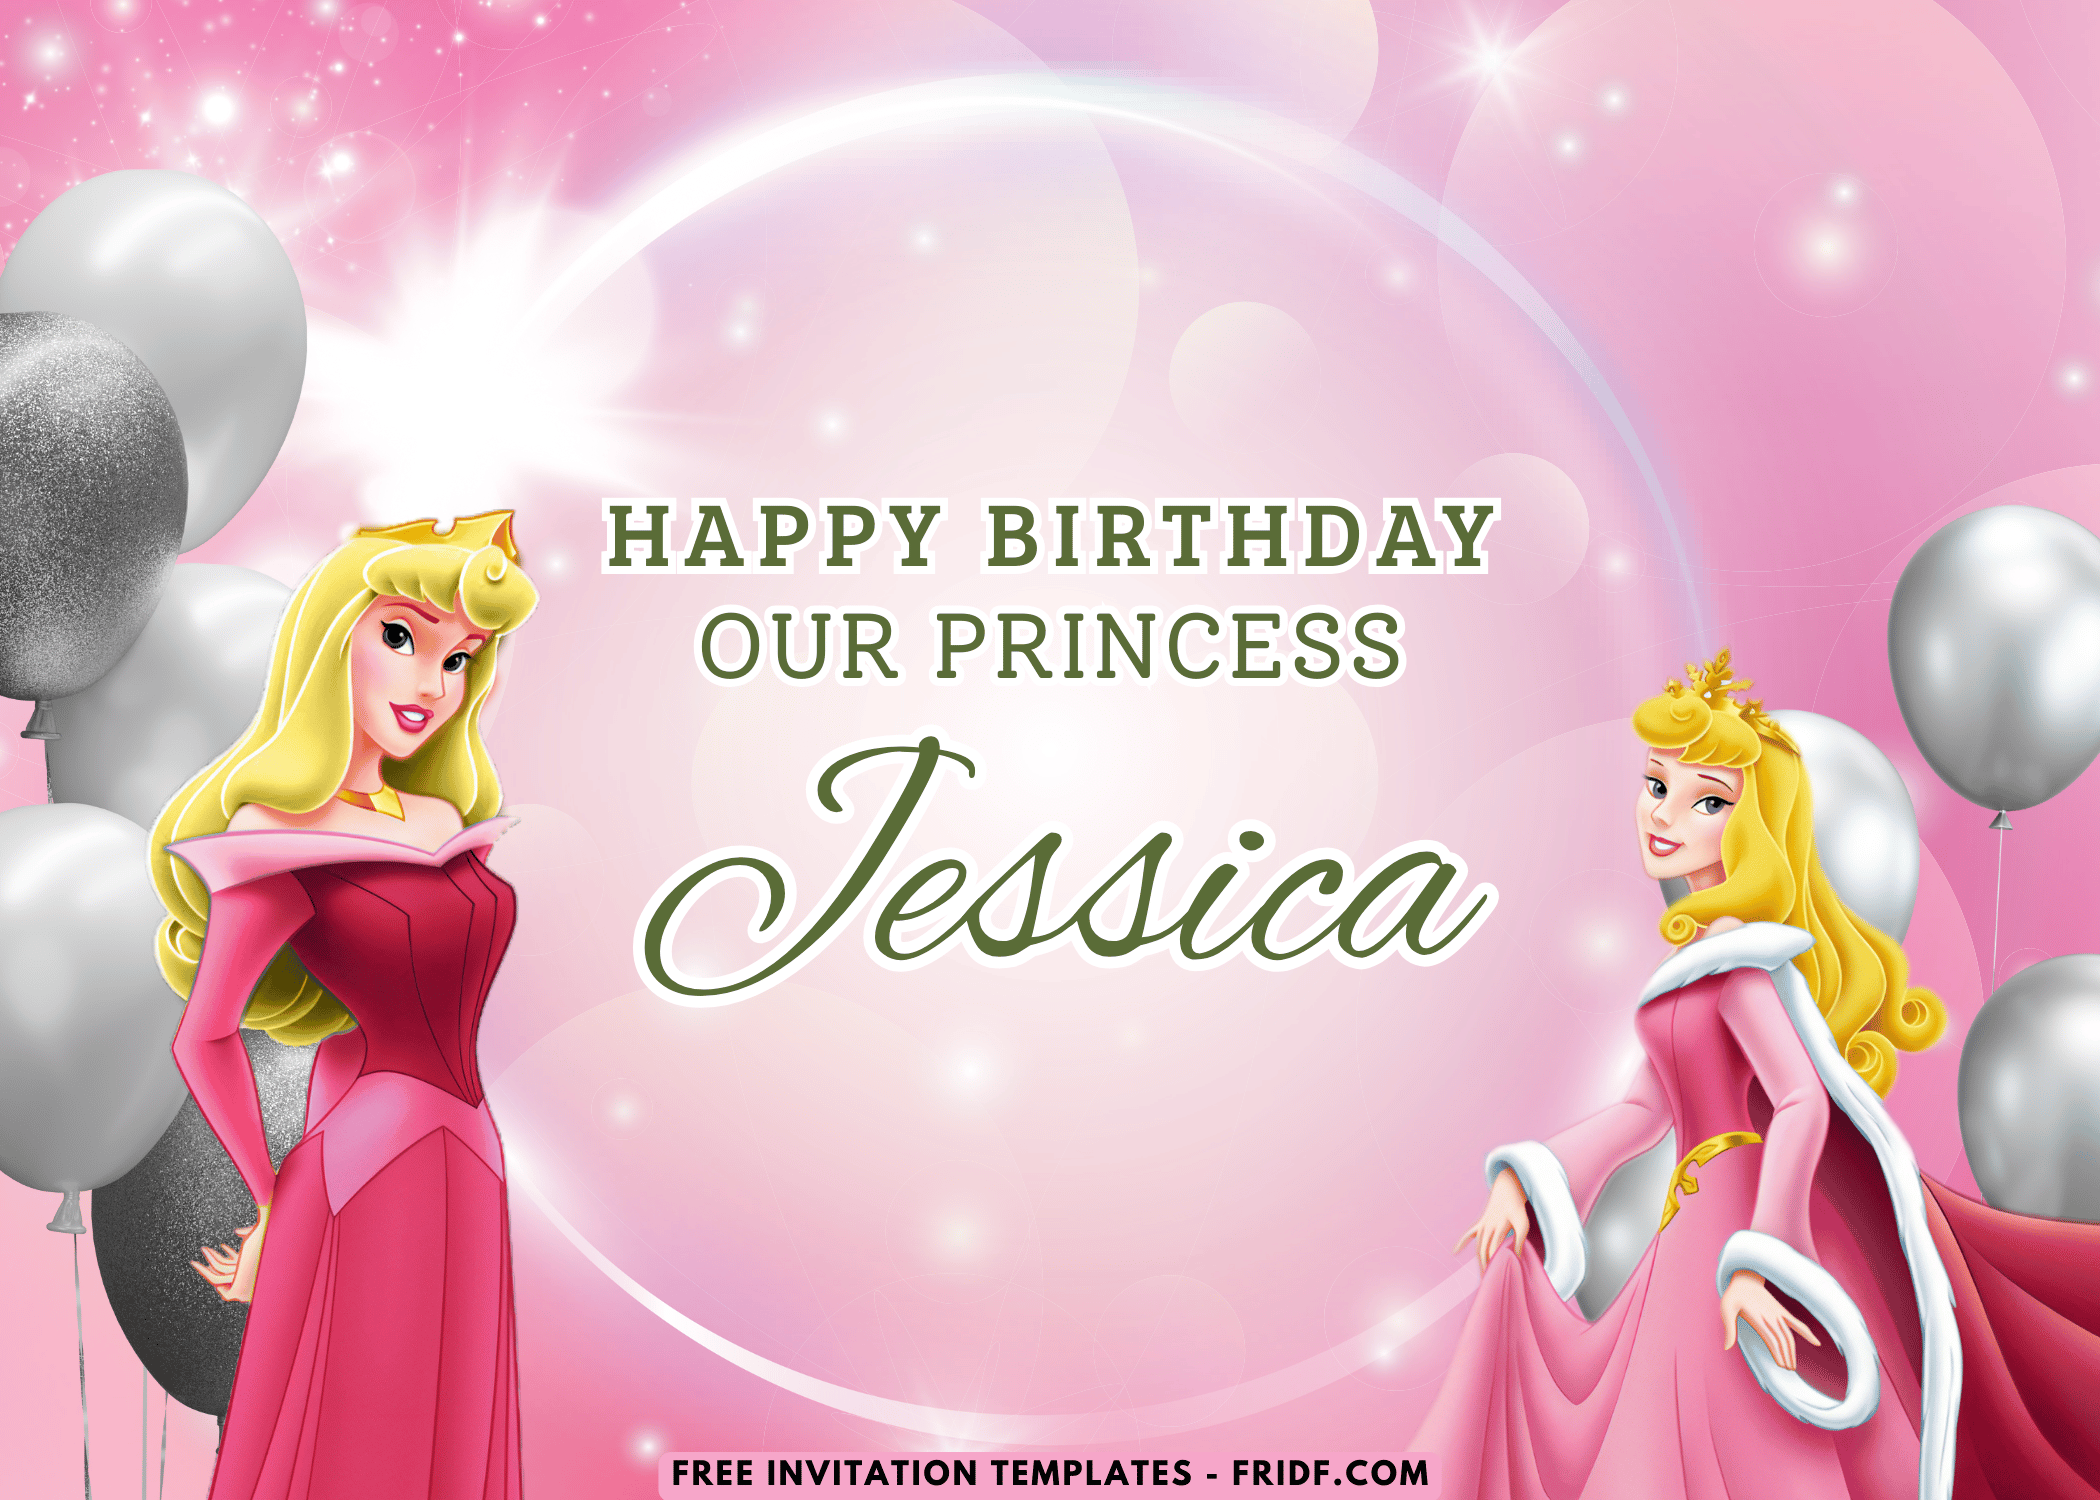
All of the designs are easy to edit on Canva, even if you’ve never used it before. Change the name, update the date, and you’re done in five minutes. You can print them out or send them digitally. And because I’m a little extra, I also made matching welcome signs, thank-you cards, and printable backdrops—all included in the same free kit.
I poured so much love into these because I know how hard it can be to find high-quality invitations that don’t wreck your budget. And because I wanted every mom who downloads them to feel like she just got her fairy godmother moment. Once those invites were sent out, and my daughter officially became “Princess Jessica” for the week, it was time to start planning her royal wardrobe…
CUSTOMIZE AND DOWNLOAD NOW ON CANVA!
Beginner’s Guides
Before you get too wrapped up in planning the rest of your party magic, let’s talk about invitations! Our free invitation templates are not only adorable, but they’re super easy to customize too. Whether you’re adding in party details like the date, time, and location or even a special note, you can personalize everything to fit your theme perfectly.
A. Download Instruction
Want to know how? Read this step-by-step guide to help you download and customize our free editable invitation templates:
- Scroll up the page until you see the “Download Free Editable … Here” button.
- A new page will be shown in seconds, and you will be able to see the preview of our template designs.
- Choose/click the “Edit Template” button (blue button).
- Now you can personalize our templates, like putting your son or daughter’s name, changing the font-size and color.
- Once you finished with the editing, you can download the final draft (Go to File > Download > Select the File Type (PNG is the best option) > Download.
B. How to Print the file?
“Steps for printing our templates”
- Save the image you want to print to the computer or to a flash drive if it is not saved already. (Step 5 of Download Instruction).
- Go to the file explorer and find the file. Double click the image.
- The file will open in Windows Photo Viewer
- Go to print at the top and then go to the print option
- Select the color printer if you want the photo to print in color
- Select the print size you want
- You may want to play around with the “Fit picture to frame” option. Sometimes that option will allow the photo to print closer to the border, but sometimes it will cut off the edges of the photo.
- Hit print and Voila!!!
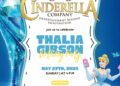
Speaking of birthday parties, we avoid to see anything basic, especially when it comes to children’s birthdays. By unusual, I mean something that isn’t typical Floral theme, but rather something like what’s in this page or something like these, Cinderella Disney and Disney Charm Cinderella birthday invitation templates.
What’s Next? Dressing Our Little Princess
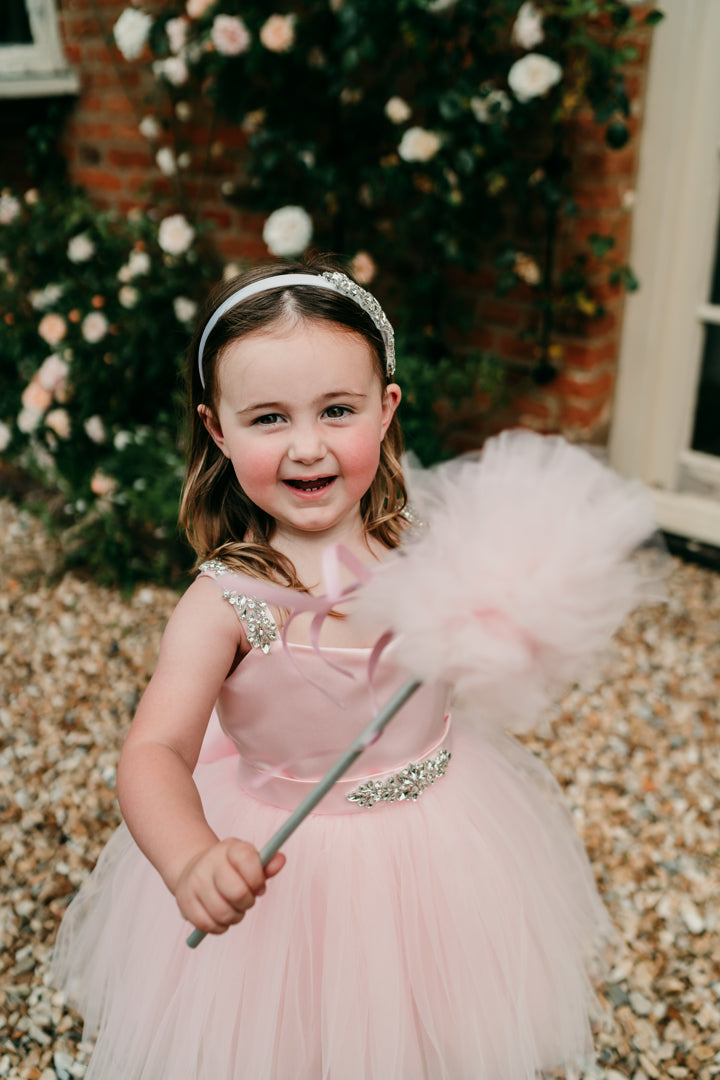
So I asked my daughter, “Pink dress or blue dress?” And in true Aurora fashion, she yelled, “PINK!” (Sorry, Merryweather.) Now, if you’ve ever looked up official Disney costumes, you know they can be ouch-level expensive. But we’re moms—we know how to make magic happen on a budget.
I found a gently used pink satin dress at a thrift store for $10. Then I added a layer of light pink tulle from the craft bin, stitched on some fake rose petals along the skirt hem, and topped it off with a rhinestone tiara from last Halloween. Add sparkly shoes (also thrifted), and voila—Jessica was a royal vision, no fairy magic required.
Credit: Sweet Pea Embellished Tutu Dress in Baby Pink by Little London Lady
She posed, twirled, and demanded that I refer to her as “Her Highness” until bedtime. It was one of the happiest things I’ve ever seen. If you have a little one who’s too young for full costumes, don’t worry. Even a pink tutu and sparkly headband will make them feel like Aurora. And for guests, I created a “Royal Accessories Bar” with plastic tiaras, wands, and clip-on earrings. It doubled as a party favor table and made for the cutest photos ever.
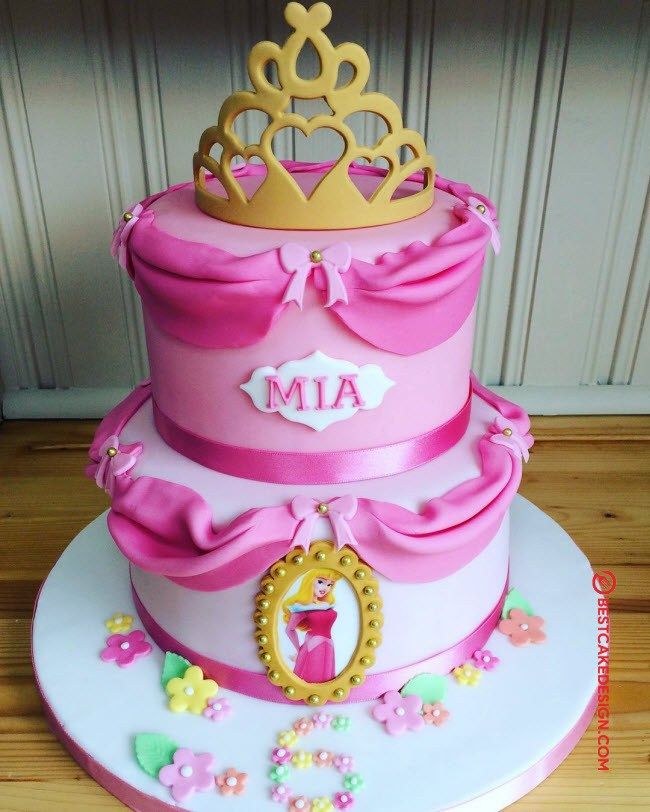
Sweet Dreams Are Made of Cake
“Our Sleeping Beauty Bake Moment”
I had big dreams for the cake. Pinterest had me thinking I could craft a three-tier enchanted castle cake with fondant flowers and a working drawbridge. Reality? I’m just a mom with a boxed mix and a dream. So, I pivoted. I baked a simple two-layer vanilla cake, dyed the frosting baby pink, and piped on swirls that looked like ribbon (after the third YouTube tutorial attempt). I added edible glitter, silver candy pearls, and a tiny plastic Aurora figurine that I “borrowed” from Jessica’s toy box. I even piped a little crown on top—very uneven, but she loved it.
Credit: Sleeping Beauty Birthday Cake via Five Alphabets
When the cake came out, her eyes lit up like the opening scene of a Disney movie. She clapped and shouted, “My birthday cake is BEAUTIFUL!” I may have cried, but I’ll deny it if asked. For other moms, you can totally buy a plain white or pink cake and decorate it yourself with themed toppers and edible glitter. Add a paper crown or a faux rose for instant magic. Or skip the cake altogether and go with cupcakes topped with tiny tiaras.
Don’t Forget the Royal Games for Royal Guests
Now, if there’s one thing I’ve learned from throwing kids’ parties, it’s this: you better have a game plan before the frosting hits. After cake, the sugar hits their little souls like a lightning bolt, and suddenly your living room turns into a scene from a Renaissance fair gone wild. But fear not—I had a plan. And it started with coloring pages, because nothing calms a group of sugar-happy kids like giving them crayons and telling them to stay within the lines (spoiler: they never do, and that’s totally fine).
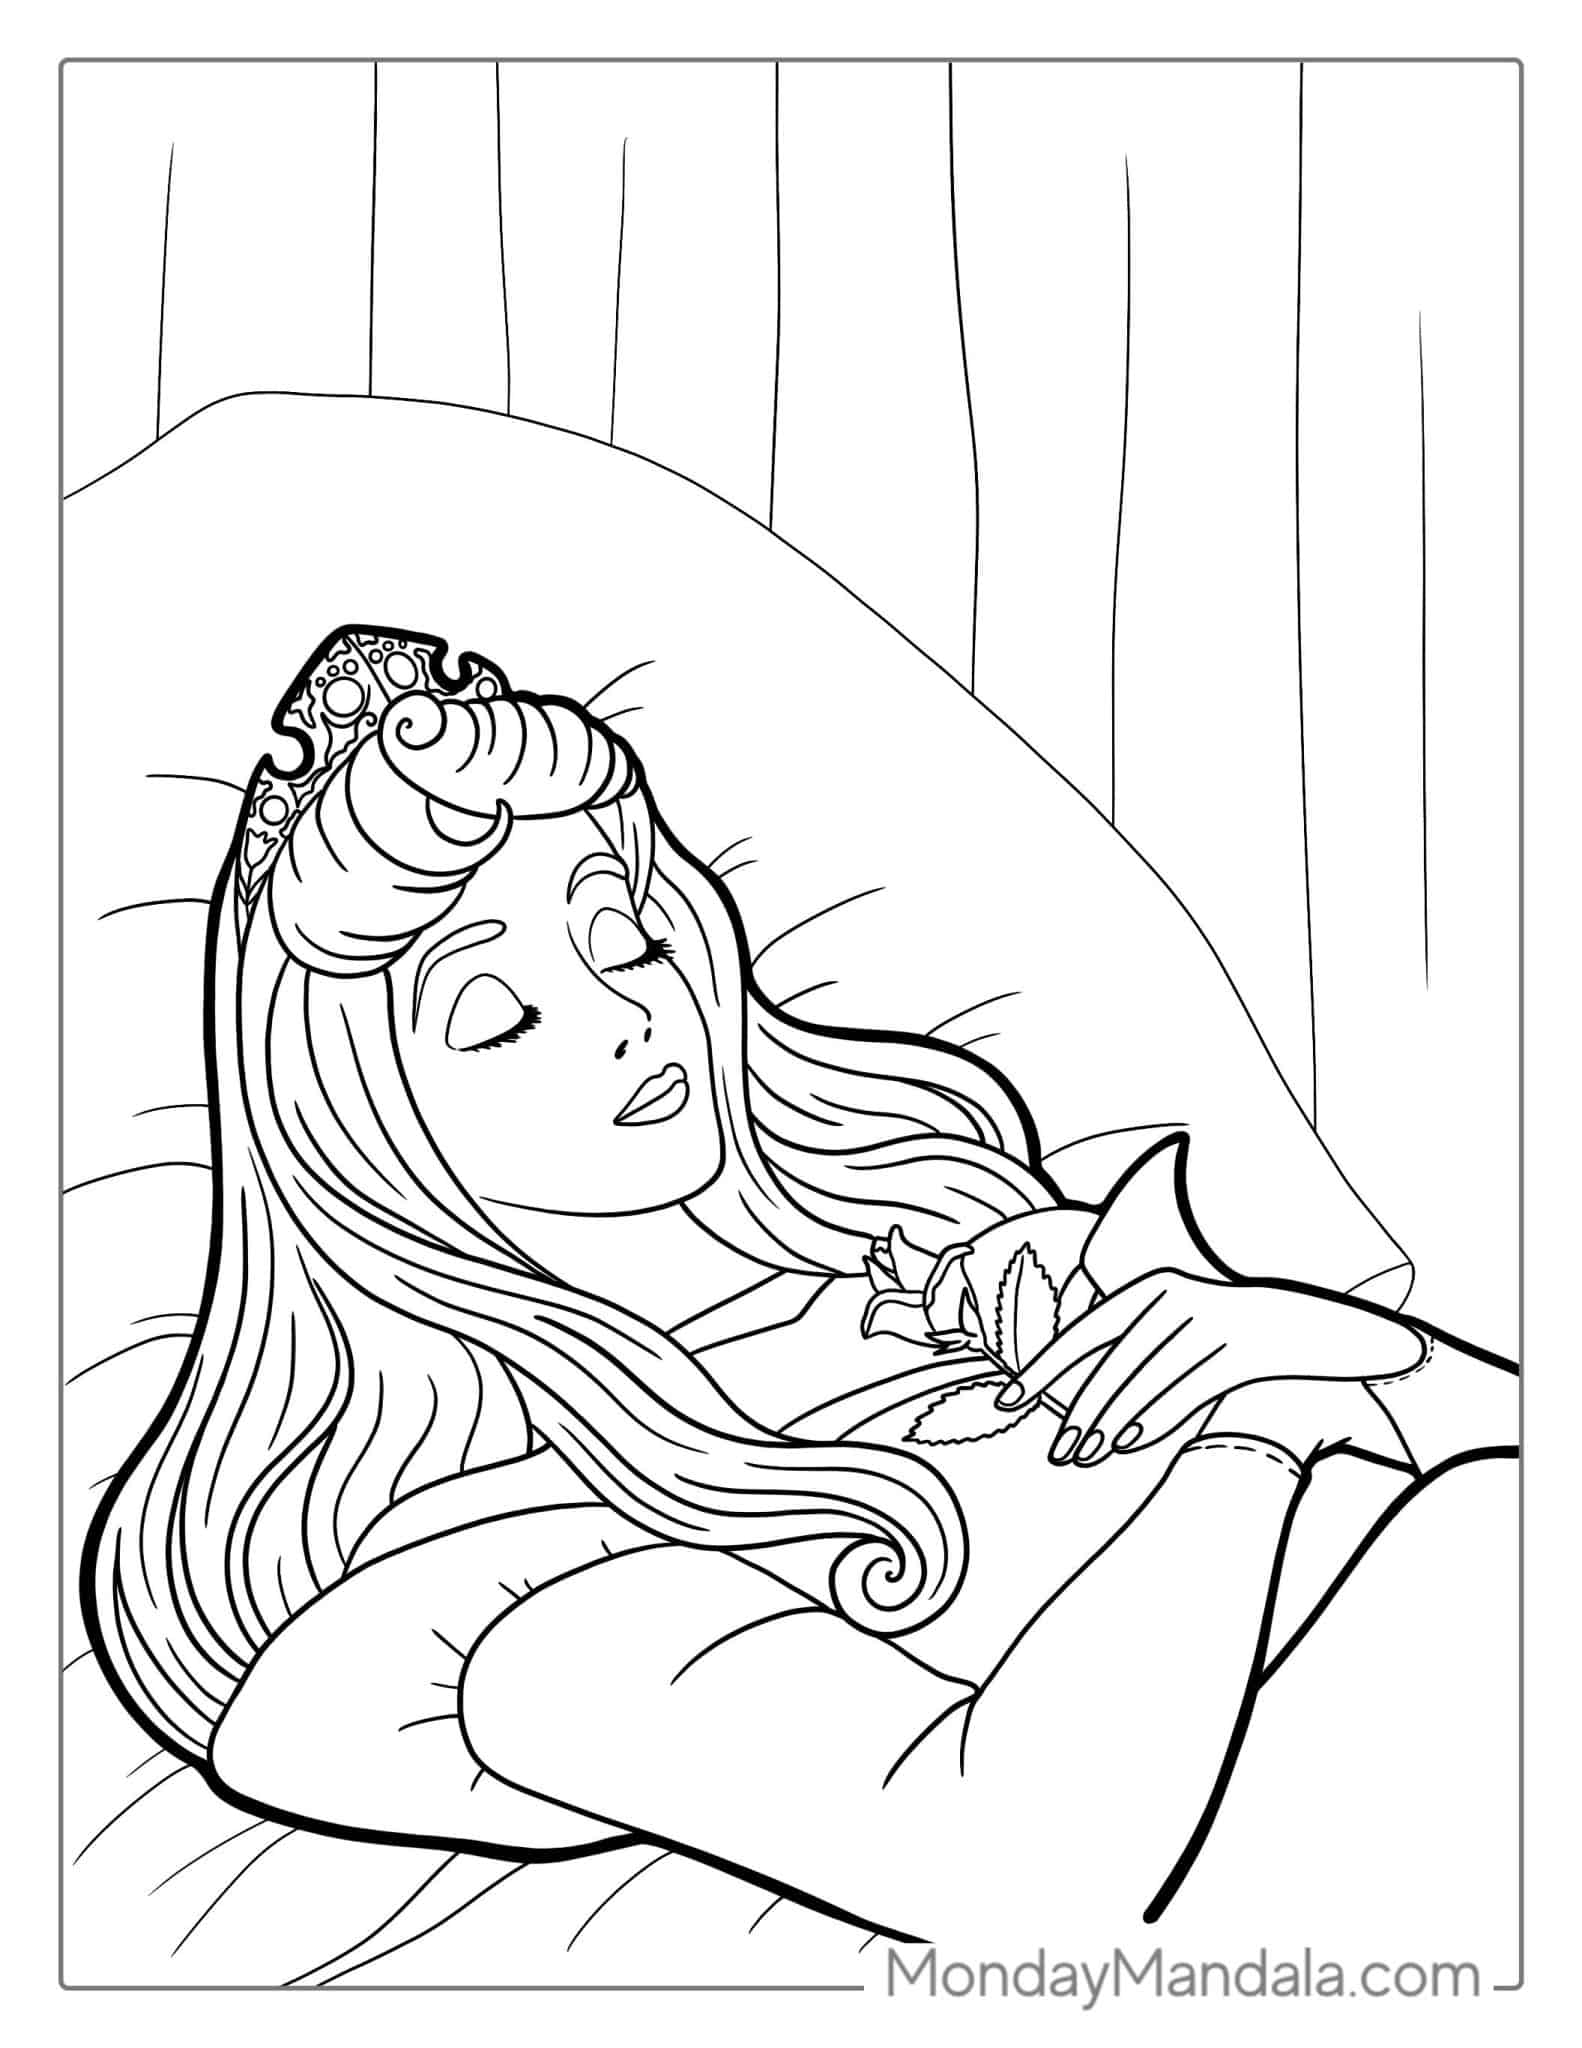
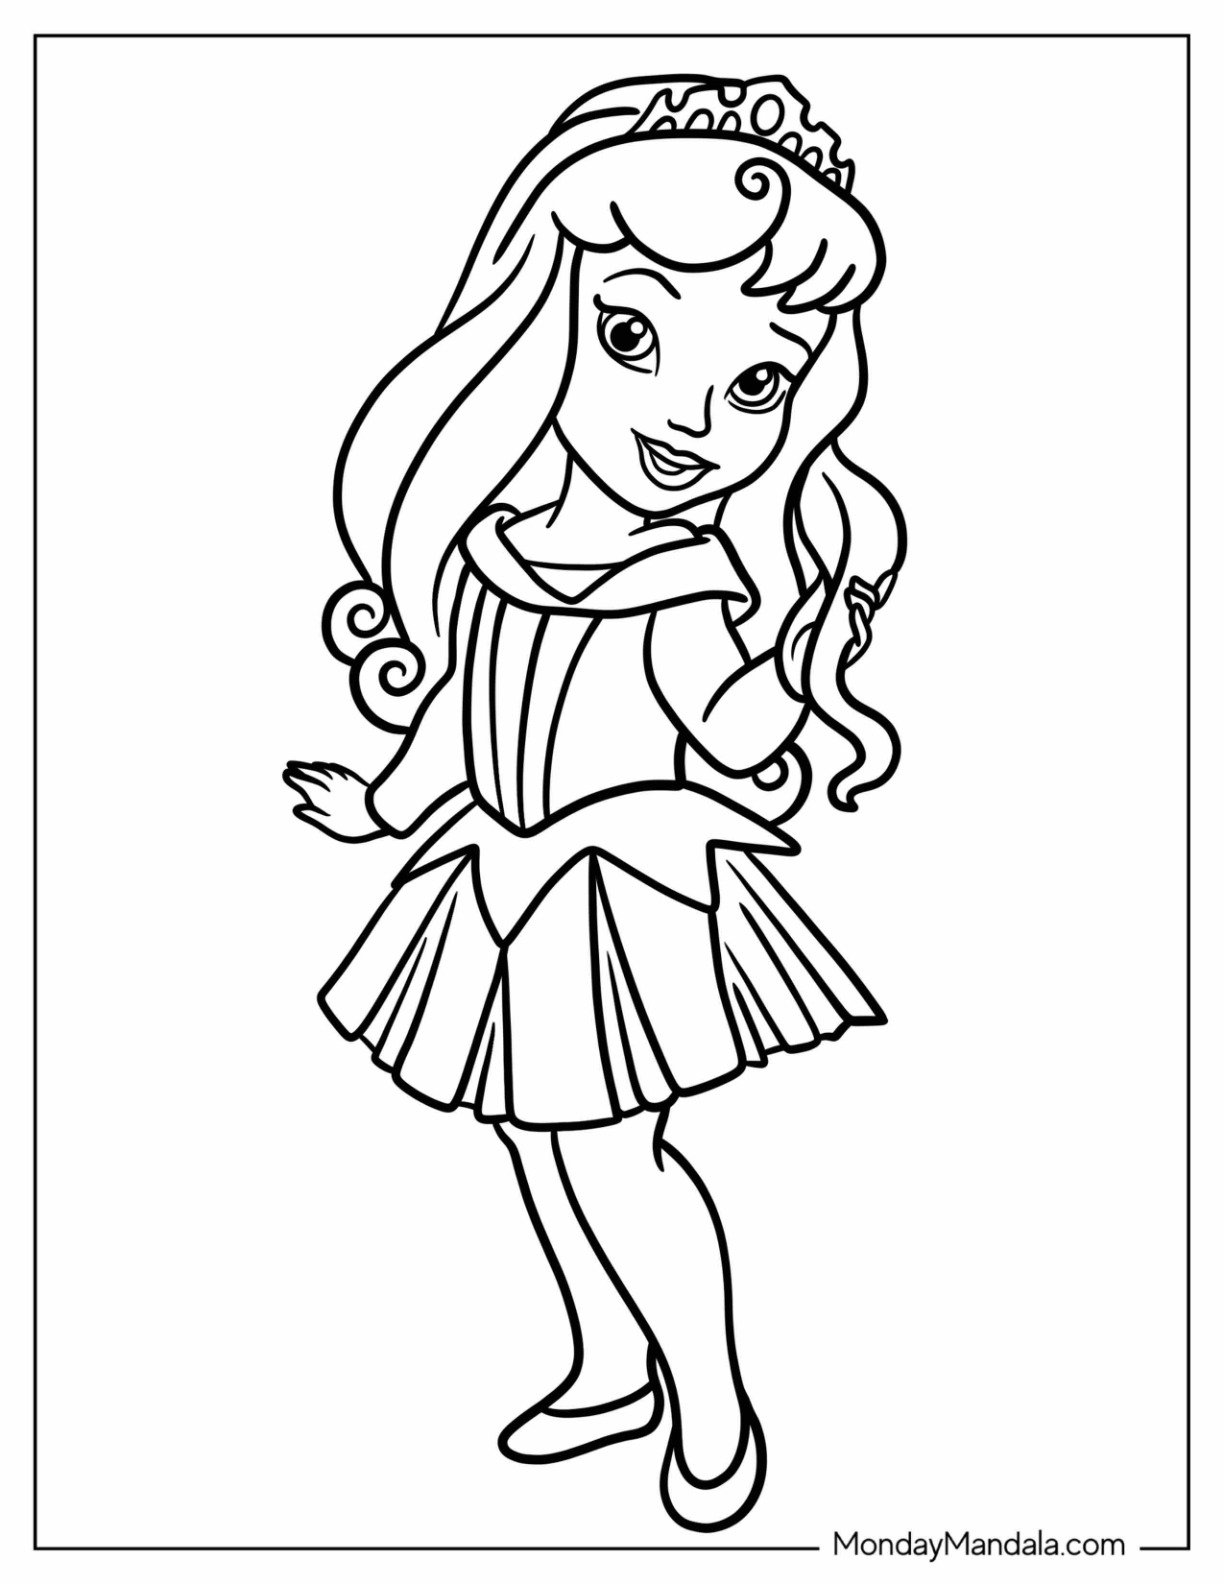

Credit: 20 Sleeping Beauty Coloring Pages by Monday Mandala
I printed out a whole set of adorable Sleeping Beauty coloring pages—Aurora in both her iconic pink and blue dresses (because yes, we absolutely respect both aesthetics in this house), spinning wheels (minus the finger-pricking drama, of course), and even a few fierce illustrations of Maleficent as a dragon. I wanted to give the kids plenty of options, so I tossed in some castles, magical forest animals, and the three fairies—Flora, Fauna, and Merryweather—doing their thing.
Happily Ever After
If you’ve made it this far in the article, you’re probably a lot like me—creative, loving, maybe a little tired, and 100% committed to giving your child a day they’ll remember forever.
And I see you. I see you scrolling Pinterest at midnight, juggling party planning between work and dishes, wondering if it’s “too much” to DIY a full castle wall out of cardboard (spoiler: it’s never too much if it brings joy).
But here’s the truth I want to leave you with: you don’t need perfection to make magic. You just need heart. You need a little time, a little vision, and maybe a few free templates designed by someone who’s right here in the mess with you.
Use those invitations. Print that thank-you card. Throw some glitter on a balloon and call it enchanted. You’re doing amazing. And whether you host the party in your living room, backyard, or even a local park, your child will feel every ounce of love you poured into it. Now let’s close the book on this party with a few quick answers to the questions I get asked all the time.


